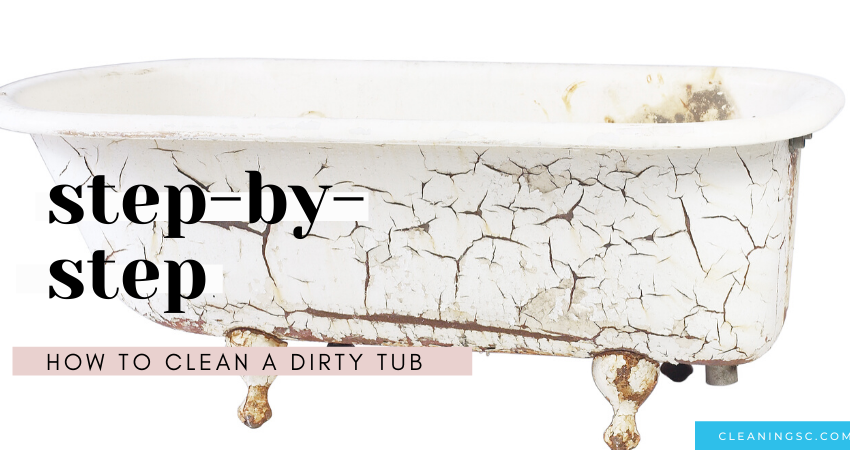
How To Clean A (Very) Dirty Bathtub Quickly | Step-By-Step
Written by Victoria Alexander in Cleaning checklist, Cleaning Hacks, Cleaning Products, Cleaning Routine, Cleaning Tips
Nothing brings the mood down like a tub that doesn’t shine. This simple step-by-step guide will show you how to clean a dirty bathtub quickly & easily! From soap scum to rust stains – I’ll cover everything you need to bring on epic levels of shine!
If you’ve got a bathtub that has so much soap scum, hideous stains & gunk you think you may need FEMA, you’re in the right place! I’ve seen my share of dirty bathtubs over the years and after much trial & error, I’ve got the perfect cleaning hacks and tips you need to easily tackle any issue you may find in your tub – with only zero to light scrubbing required! #winning
The 5 Simple Steps You Need To Clean A Very Dirty Bathtub
Step 1 // Vacuum Up Dry Debris Like Hair & Dust
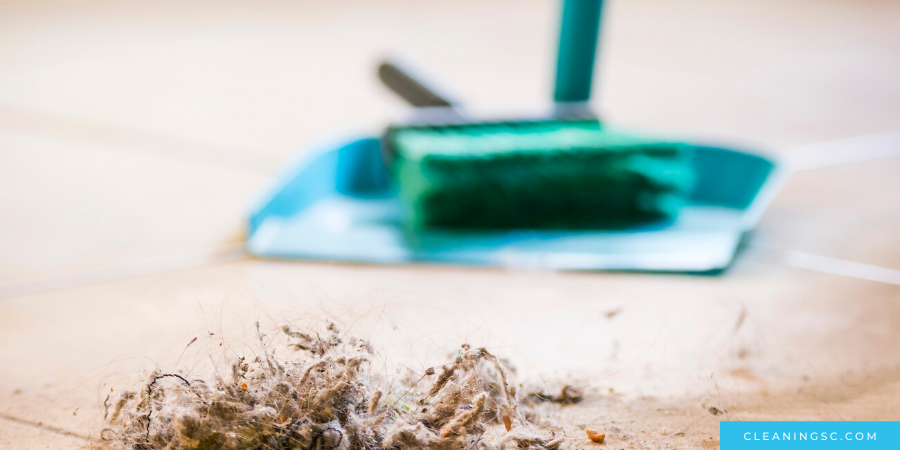
Things might get a little messy when you start cleaning your bathtub or shower so to minimize the mess, remove dust, debris and hair from inside the tub, shower and the bathroom floor before you start cleaning.
Dust tends to get muddy and cleaning wet hair from the floor is like cleaning glitter – a huge headache! Save yourself some time by taking care of this upfront.
Bonus Tip: Grab a razor blade to easily remove hair that may be caught on the drain. You’ll want to do this before cleaning to make sure water flows freely down the drain while cleaning.
BONUS STEP / Fix Slow Moving Drains Before You Start Cleaning
If your pipes are clogged, we cannot pass go. Or collect $200. Until we get them fixed. You can use products like Draino or try some home remedies to get things draining properly.
To remove hair that’s clogging your pipes, you can actually use a wire hanger to pull it out. That’s the easiest, quickest and yuckiest method. You can also try to flush the drain using boiling hot water and household items like baking soda or vinegar.
YOU MAY ALSO WANT TO READ // How To Clean Your Dirty Bathroom Super Fast – And Keep It Clean for my advice on cleaning thoroughly in the fastest, smartest way possible. It also comes with an ultra-deep cleaning routine + checklist that will transform your bathroom!
Step 2 // Remove Gunk & Soap Scum From Your Bathtub
Here’s where the real magic starts to happen. Get rid of layers of build-up & soap scum to reveal a side to the tub you thought was lost forever! You will even be able to get rid of light stains for a seriously bright tub.
Warning: If you have rust stains, do not use anything with bleach at this point. Contact with bleach will make the rust – reddish – stains worse.
You’ll Need The Following Items + Cleaning Products
- a very large bowl or cup for rinsing
- scouring sponge (This is the secret to getting all the build-up removed easily)
- microfiber towels (once the build-up is gone you can use these for lighter cleaning and drying the tub)
Product Option 1 | Miracle Working Homemade Soapscum Blasting Recipe | Clean your bathtub with vinegar & dawn
You’ll need white or cleaning vinegar & dawn dish detergent + spray bottle | prepare a 50:50 mixture of warm vinegar & dawn soap in a spray bottle | simply warm the vinegar in the microwave for 1:30-2 minutes prior to mixing with the soap
Product Option 2 | A Soft Cleaner Like Soft Scrub or Bar Keepers Friend! (BKF) | both are must-have cleaners in my opinion
Optional Soap Scum Removing Tool | A razor blade for removing heavy build-up & soap scum on shower glass doors
You can use any one of these options, or alternate between them to remove heavy soap scum or buildup from your tub. Just be sure to only use one product at a time.
Cleaning Process To Remove Soap Scum + Gunk From Your Tub + Shower
- Spray or apply the cleaning product to the tub from top to bottom, covering every surface including the faucet and shower door.
- Let the product sit undisturbed for 10-30 minutes.
- Once the time has passed, start cleaning. Use a scouring sponge and start at the top corner of the tub or shower wall to clean all the surfaces. Use a circular motion as you clean – think wax on, wax off – and rinse your sponge out frequently.
- As you clean, you should begin to see bright white smooth areas become visible.
- Depending on how thick the soap scum is that you’re cleaning, you may need to repeat the cleaning process 2-5 times to remove it all.
You’ll know the tub is clean when:
- you no longer see visible signs of soap scum or build-up – usually patchy brown or tan areas
- when you run your fingers across the surface, it’ll feel smooth as glass to the touch
Step 3 // Remove Tough Hard Water Stains + Limescale
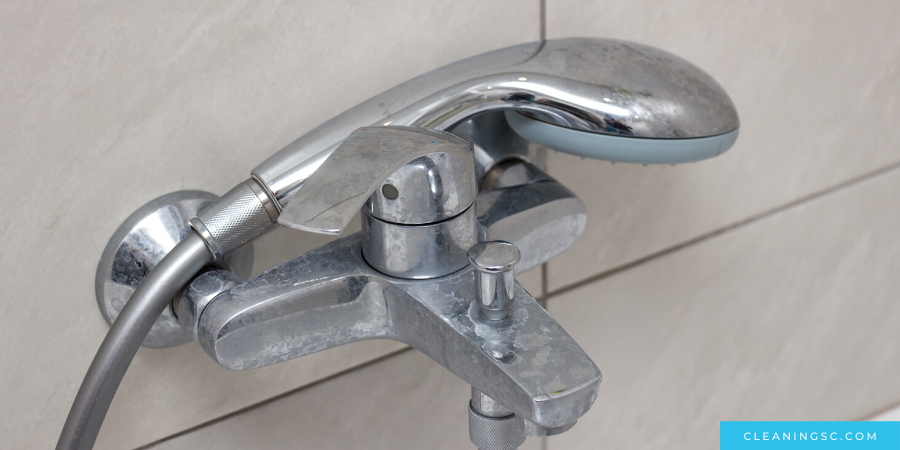
These unsightly stains are usually what mutes the shine of your faucet, showerhead, shower door & tub. These stains are caused by hard water – water with lots of minerals like calcium and magnesium.
You’ll Need The Following Items + Cleaning Products
- a large bowl or cup for rinsing
- scouring sponge
- microfiber towel
Product Option 1 | Natural Hard Water Eliminating Recipe | You’ll need white or cleaning vinegar + spray bottle | for heavy build-up, use straight vinegar | Dilute to a 50:50 mix if the smell is too strong for you
Other Product Options | CLR & Bio-Clean Hard Water Stain Remover are two great options that will get the job done! But any hard water or limescale remover should work for this. Just be prepared for multiple applications.
FYI Glass Shower Doors May Have Permanent Damage
In some cases, mineral deposits can become so bad that there is a chemical change that permanently damages the material. For example, if you have a glass shower door with a white, cloudy residue that never seems to come off completely, those stains may be permanent because the chemicals have etched the glass.
[You can also check out The Guide To Removing Limescale From Your Shower Glass Door created by our friends at MaidForU.]
Cleaning Process To Remove Hard Water Stains + Limescale From Your Tub
Tub Or Shower
- Spray the product and let it sit wet – if it dries, reapply it – for 1-3 hours.
- Rinse & wipe clean with a microfiber towel. Repeat the process if necessary.
Chrome Faucets
- Spray the product and let it sit wet – if it dries, reapply it – for 1-3 hours.
- Wrap towels soaked in vinegar around the faucet to keep it wet. You can use rubber bands to secure the towels in place.
- Rinse & buff dry with a microfiber towel. Repeat as necessary.
Showerhead
- Spray the product and let it sit wet – if it dries, reapply it – for a few hours or overnight.
- Scrub with a toothbrush, rinse & wipe clean with a microfiber towel.
Here are a few more ways to clean the showerhead:
- Wrap towels soaked in vinegar around the showerhead to keep it wet. You can use rubber bands to secure the towels in place. Rinse & wipe clean with a microfiber towel.
- Fill a small bag with vinegar and secure it to the showerhead, with the showerhead submerged in the bag. To secure the bag in place, you can use a rubber band or cord. Visit our friends at Women You Should Know for a full tutorial on how to remove hard water stains from a showerhead.
- Take off the showerhead and soak it in white vinegar for 3-6 hours or overnight. Then, scrub it with an old toothbrush. Rinse & wipe clean with a microfiber towel. Reinstall it.
Step 4 // Remove Rust Stains From Your Tub

Rust stains are actually pretty common and they are – thankfully – easy to remove from your tub. The one no-no when it comes to removing rust stains is to never use bleach! They may make your rust stains worse. Other than that, here are the simple steps you need to follow to get rid of those red stains.
You’ll Need The Following Items + Cleaning Products
Product Option 1 | Non-Chemical Options| Shaw’s Pads (SP) | Pumice Stone (PS) | It’s an all-around must-have item for your home. Safe for porcelain tubs, toilets, ovens, etc.
Product Option 2 | Bar Keepers Friend! (BKF) or any soft cleaner | It’s also an absolute miracle worker and must-have.
Product Option 3 | Calcium, Limescale & Rust Remover CLR or any rust remover you can buy from a store | This option won’t require any elbow grease if you’re looking for a scrubless solution.
Cleaning Process To Remove Rust Stains From Your Tub
If Using A Pumice Stone
- Wet the pumice stone
- Wet the rust stain
- Rub the stone back and forth over the stain
- Wipe clean with a microfiber towel
If Using The Shaws Pads
- Wet the pad
- Rub the stain
- Wipe clean and dry with a microfiber towel
If Using A Soft Scrub
- Apply the product to the stain
- Gently rub it in then let it sit for 10-15 minutes or the time specified on the instructions
- Rub gently using a scouring sponge
- Rinse and wipe clean with a microfiber
Buy A Rust Removing Product
- Just follow the directions
- Rinse & wipe clean with a microfiber towel
- Repeat the process if necessary
Step 5 // Remove Mold + Mildew Stains From Your Tub
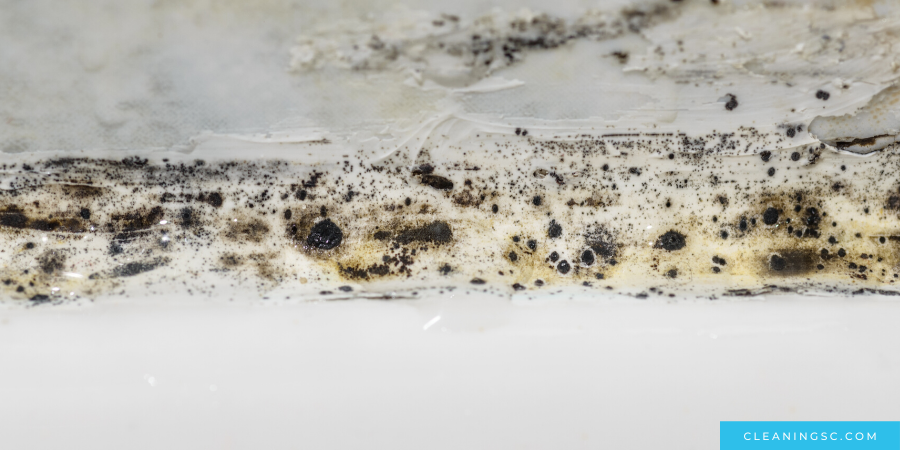
Now that everything is sparkling clean, the last thing standing in your way of a flawless tub is unsightly mold and mildew stains. Luckily they are easy to remove so let’s dive into what you need to for a pure white tub!
FYI Mold Stains In Caulk May Be Permanent | I’ve seen it too many times so I want to save you some time. If you spray the caulk with a product containing bleach but don’t see the mold stains fade, they may be there to stay. Replacing the caulk will be the best bet for a sparkling white tub.
You’ll Need The Following Items + Cleaning Products
- scouring sponge
- microfiber towel
- cup or bowl for rinsing
- small brush or toothbrush
Product Option 1 | Simple Bleach + Water | A 50:50 mix should be fine but make sure you are able to ventilate the are being cleaned | Bleach doesn’t kill mold but it removes stains
Product Option 2 | Vinegar | Use it undiluted | It won’t remove stains but it will kill and prevent mold growth
Product Option 3 | DIY Baking Soda Paste | Just cover the stains with baking soda & sprinkle with water. Using a toothbrush, rub the mixture to make a paste. Let it sit 30 minutes to 1 hour. Rinse, wipe clean & repeat if necessary. | It won’t remove stains but it will kill and prevent mold growth
Product Option 4 | Purchase a mold stain remover | RMR-86 Instant Mold Remover (RMR) | This product and those like it are strong so be sure to ventilate the area!
Cleaning Process To Remove Mold Stains From Your Tub
If Using Bleach + Water
- All you have to do is apply the solution to the stained areas & let it sit wet for 15-30 minutes. You should start to see the mold fade away.
- When the time’s up, you can start cleaning. Respray the area with more of the bleach solution and clean the area right away with your scour sponge or brush if you’re cleaning grout.
- Rinse and repeat as necessary. Be sure to wear gloves & keep a window open!
If You Want To Kill Mold The Chemical-Free Way
- You can apply straight vinegar and let it sit for at least 2 hours
- Rinse and wipe the area dry
- Just note the smell may be offensive
You may slightly lighten the stains but don’t expect miracles. Vinegar is much better at preventing mold growth.
Prevent Mold Growth | There are several easy things you can do to prevent mold growth.
- Keep the bathroom ventilated when you take a bath or shower. Keep the ventilator running 30 minutes to an hour after you’re done.
- Dry tub and shower surfaces after use.
- Prevent mold growth with regular treatments of vinegar.
- Prevent mold growth with Cornocorbium. We use this in our cleaning service and recommend it to our clients. You can check the pricing for it on Amazon.
Step 6 // Buff Dry (Last Step!)
This last step is all about bringing on the shine! All you need is a nice, dry microfiber towel and a little Karate Kid action. Think, wax on, wax off.
You’ll want to fold your towel so that it’s flat and then using circular motions, buff the tub surface dry. Flip the towel to a dry side if the side you’re using becomes too wet. If you’re wondering much buffing you really have to do, the good news is not much.
The tub doesn’t have to be bone dry. You don’t want to see big beads of water on the tub’s surface. So once you get to that point you’re good. However, the more buffing you do beyond that, the more brilliant the shine!
Let’s Wrap This Up
Cleaning a dirty tub can be a chore but if you follow this process, you’ll get a super clean tub with a minimal amount of sweat and tears! Use whatever cleaning products you like, just be sure to follow the step-by-step cleaning process and your bathtub will be Instagram worthy in no time.
With that in mind, if the whole bathroom could use a good deep cleaning but you don’t want to spend all day scrubbing away, move on to this post, How to clean a dirty bathroom fast!
Good things are meant to be shared! Save this to your Pinterest account so you can actually find it later and so others can see you’ve got all the good stuff!
I’m so glad you stopped by today!

The Mini Home Management Kit